Avalanches: basic safety tips for winter mountaineering
Pyrenees and mountains 📩
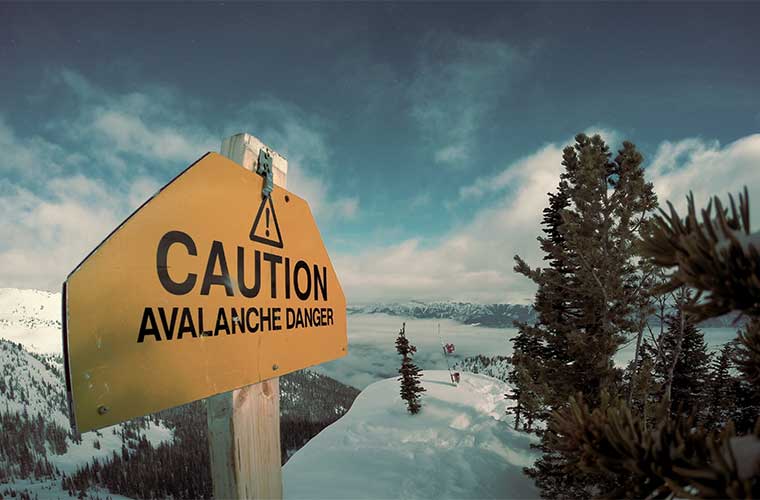
Here 🔥Heavy snowfalls are already arriving, in a few weeks the mountain will be full of snow - the winter mountain is coming. The mountain in winter has an added risk: avalanches. An avalanche, or avalanche, is the movement of a layer of snow or earth down the slope that can incorporate part of the substratum and vegetation cover of the slope, which can cause considerable damage and cause numerous injuries and deaths among the mountaineering community.
When we go out in the mountains in these conditions, we are exposed to risks, so we must be cautious of possible avalanche or avalanche hazards that may occur.
Nowadays, there are weather information channels that allow you to be aware of weather conditions, but they can change suddenly and surprise you in your mountain activity. Although Avalanches are not predictable, there are mechanisms that can alert us to the risk. avalanche risk due to the amount of snow that has fallen and the topographical conditions of the terrain, but have you ever wondered what to do in the event of an avalanche? Here are some practical safety tips for newcomers to winter mountaineering.
1. Avoid avalanches: prevention is 'cure'.
To prevent an avalanche you must have all 5 senses alert. Violent displacement of the snow mass can occur, as can the risk of being buried by aftershocks after the first avalanche. You should observe and avoid places exposed to avalanche riskThe snow may have accumulated in discrete layers and the risk of shifting is very high. The snow may have accumulated in different layers and the risk of displacement is very high. It is up to us to decide where to take the track, where to descend with our skis or whether it is advisable to turn back because of the significant risk of avalanche.
There are numerous ways to prevent an avalanche through very simple processes:
- Cane testThe first step is to stick the pole into the snow to check the hardness and thickness of the snow.
- If the first layer is soft and then we find a hard layer, we are probably dealing with recent snow or melting snow. The thickness of this soft layer must therefore be considered according to the slope of the mountain.
- If the first layer is hard and there is a weak layer underneath, we are dealing with a possible plaque, and therefore an unstable situation.
- If the hardness increases as you stick the pole in, you are in the most stable case. If we use the probe, we will be able to check the total thickness of the snowpack and we will be able to see the different hardnesses of the different layers better.
- Slope testThe first step is to stand on a slope of about 30°/45° and put pressure on it with your snowshoes or skis to check if it is stable. If something shifts, it is very unstable.
- The vuelta maria testconsists of observing if when we make the turn by opening the trace, cracks open up in the triangle of snow that we open.
- Double trace testBy opening up a second line, we can open up a second one or two metres above the first one. The snow will be barefoot and it is possible that it will slide when we pass over it or when we make a small jump.
- Extended spine testThe first step is to cut out a rectangle 30 cm high and 90 cm long perpendicular to the slope, with a maximum depth of 120 cm. The block must be insulated and the snow must be removed from the two 30 cm sides and from the 90 cm side at the bottom of the mountain slope. We put the shovel on the rectangle, in contact with the snow, on one of the sides of the block.
2. In the avalanche: how to act
Once caught in the avalanche, try to get out of the avalanche by your own means. get out of the path of the avalanche always sideways, free yourself from poles, skis, backpackand any other object that may impair your mobility. Try at all times to stay 'afloat'.you can make movements, as if you were swimming.
3. Uses specialised ARVA equipment
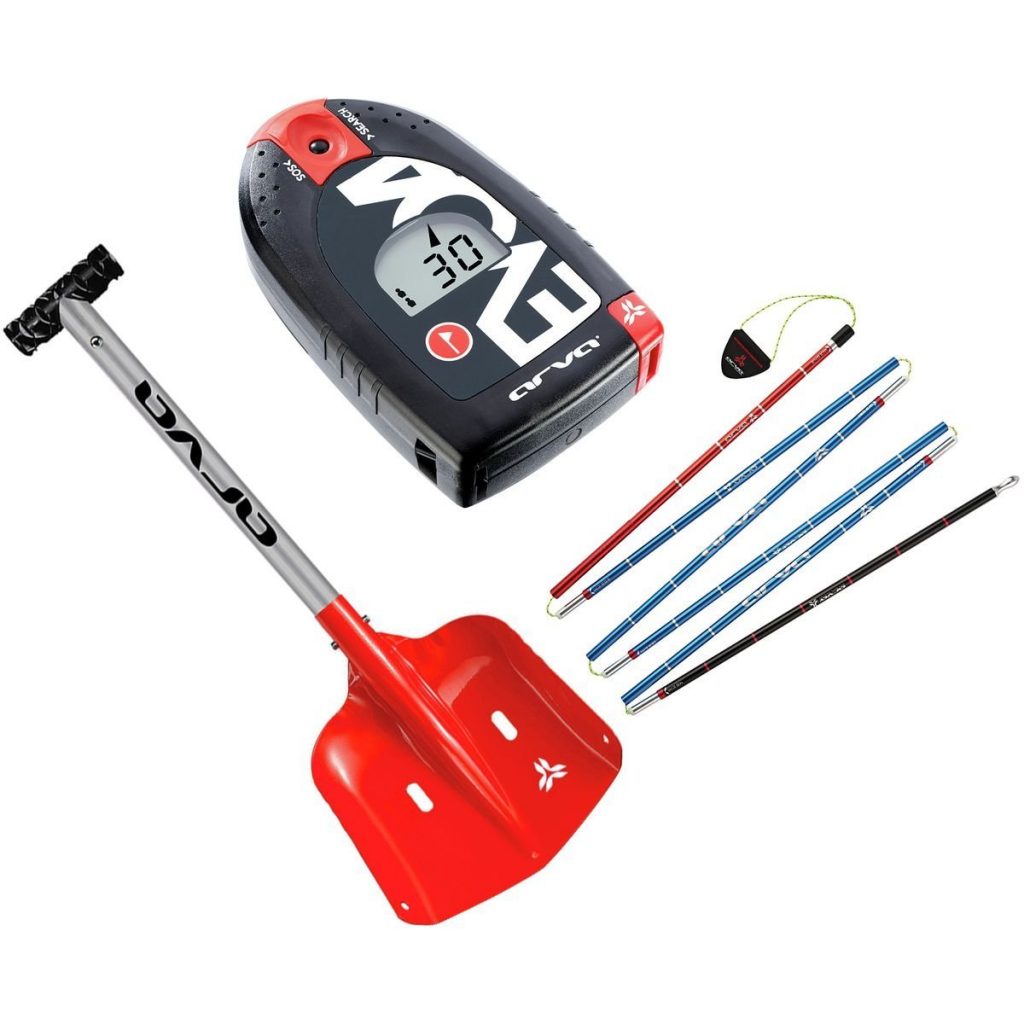
Advances in technology have made it possible for us to have at our disposal nowadays electronic devices, which will increase safety against the risk of avalanches.Try to always carry one in a protected place such as a zipped pocket, around your neck or strapped to your chest. This device works like a search engine by emitting sound signals, the higher the frequency of the sound, the closer you are to the rescue. Depending on each model it has specific functions, what you must take into account is that when there is an accident, change the emission mode to search so that there is no interference with other equipment.
4. Avalanche response time
In events with these characteristics, victims have a rescue time ranging from the first 15 to 20 minutes.. So if you are a victim and you cannot escape, try to make an oxygen chamber while you are buried, stay calm, do not scream, this will increase the risk of dying from asphyxiation, consuming the little oxygen you have under the snow, save your strength for when you hear the rescuers. Don't worry about changing the mode on your ARVA device, because it will always be in broadcast mode.
The rest of the work is left to the rescuers, hence the importance of not going out alone for winter mountain sports.
Avalanche deaths are inevitable every season, but it is in our hands to prevent them and to improve the response to an avalanche.
Fastpacking is not about going faster. It's about going lighter.
If you come from classic trekking, this is the next step: learning to move with less weight,
more fluid and enjoying every kilometre more.
Join the Outsiders Newsletter and start discovering what lightness feels like.