How to set up a homemade climbing wall.
Pyrenees and mountains 📩
Here 🔥Setting up a climbing wall at home is not something that is reserved for the "pros" of climbing. Having a small space for training, or spending time with the little ones, is easy to build and can be done without spending a lot of money. It all depends on the space and the professional level you want to achieve.
The type of climbing wall will depend to a large extent on the space we have available, an interior space such as an attic, a garage, or as in the case we are going to explain, an attic or a garage. concrete block outer wall.
In the case of indoor climbing walls, the most common is to mount the holds on wooden panels that allow you to change the inclination of the wall, thus varying the difficulty. You can make them yourself, although if you are looking for something for the "little ones", they are sold on the internet. kits with parts included.
In the case of outdoor climbing walls, the cheapest option is to glue natural stones together with a product such as sika 31. The best optionhowever, is to buy a climbing holds kit that can be screwed to the wall. In this way they can be interchanged and the climbing wall will always be alive. The glued stones, on the other hand, will always be in the same position and will end up being monotonous and, unless you want to complete an area, or set up a climbing wall in the street, it is not the most advisable thing to do. In any case, we will briefly explain how to set up a climbing wall with natural stones.
CLIMBING WALL WITH NATURAL STONES
It is not the best option, but it is the cheapest.
Materials:
- Natural stones
- Sikadur 31
Assembly:
Choose rough stones preferably and avoid slate and other equally fragile stones. Choose the places on the wall and clean them well of paint, dust, etc. Chop them lightly to improve the grip of the product. Do not mix the entire contents of Sika 31. It dries very quickly. Tip: put some nails in the wall to support the stones, so that they dry in the desired position.
CLIMBING WALL WITH CLIMBING HOLDS
The best option. They come in a multitude of shapes, they are pleasant to the touch and, most importantly, they are interchangeable.
Materials:
Assembly:
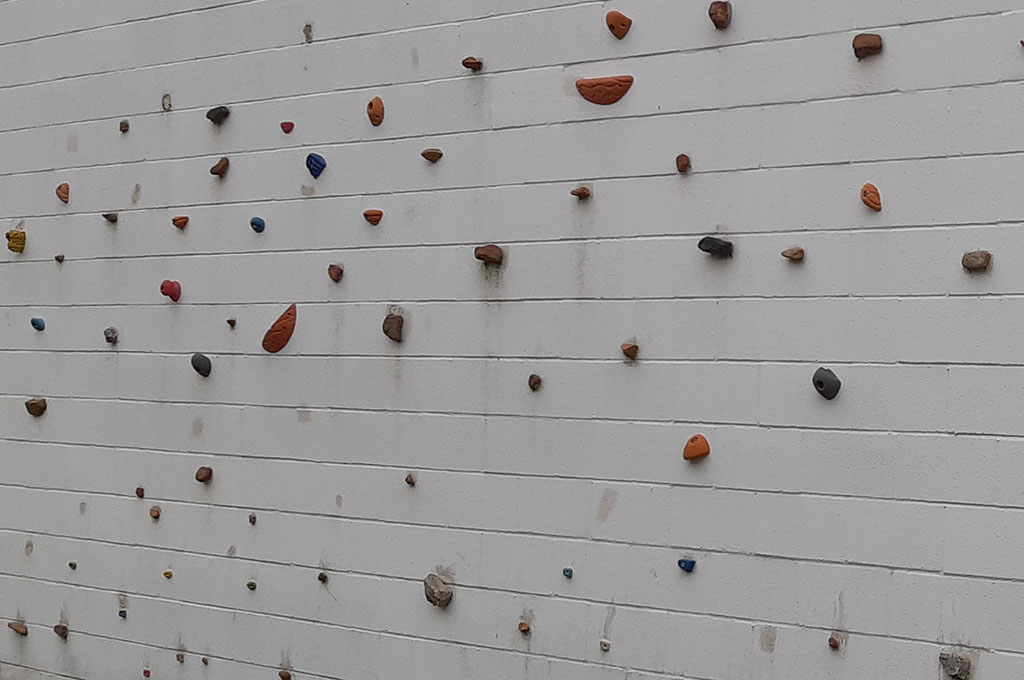
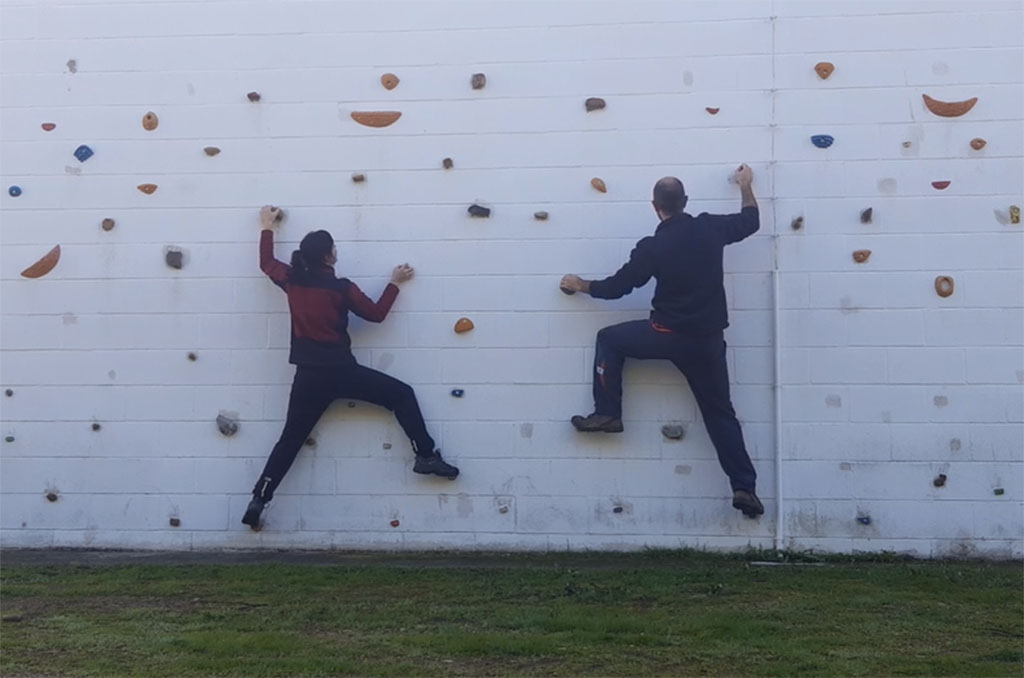
1. Choosing the place in which to place the prey following some kind of strategy. By colour, or all mixed up... reserving the small ones for the feet. It is better to densify the wall than to always force the same movements.
2. Drilling the holes in the central part of the blocks, in the hollow area, where there is no partition wall. You can drill directly, or drill with a thinner drill bit in case you find a solid block.
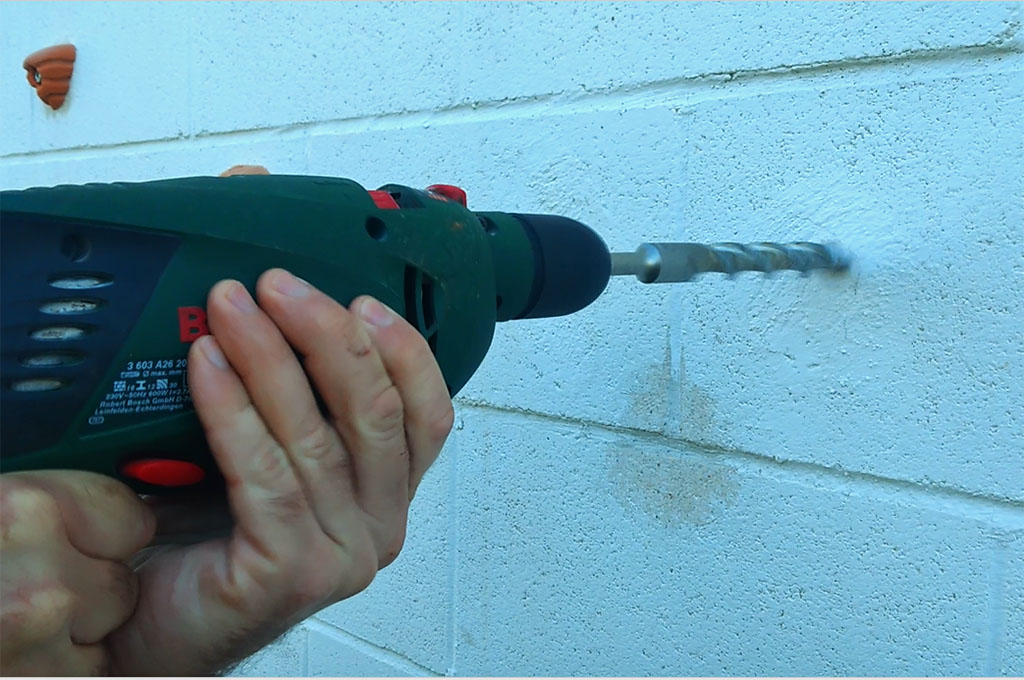
3. Repeat the drilling operation 9-10 times.The entire chemical anchor cartridge can then be used. As a guideline, a 300ml cartridge is needed for every nine sieves.
4. Clean the hole of dust and submit the sieve.
5. Fill it completely with the chemical anchor. If the hole is damaged, you can add a small amount to the hole before inserting the sieve. Before filling the sieves, make sure that a small amount of the product is wasted, until it starts to come out homogeneous light grey.
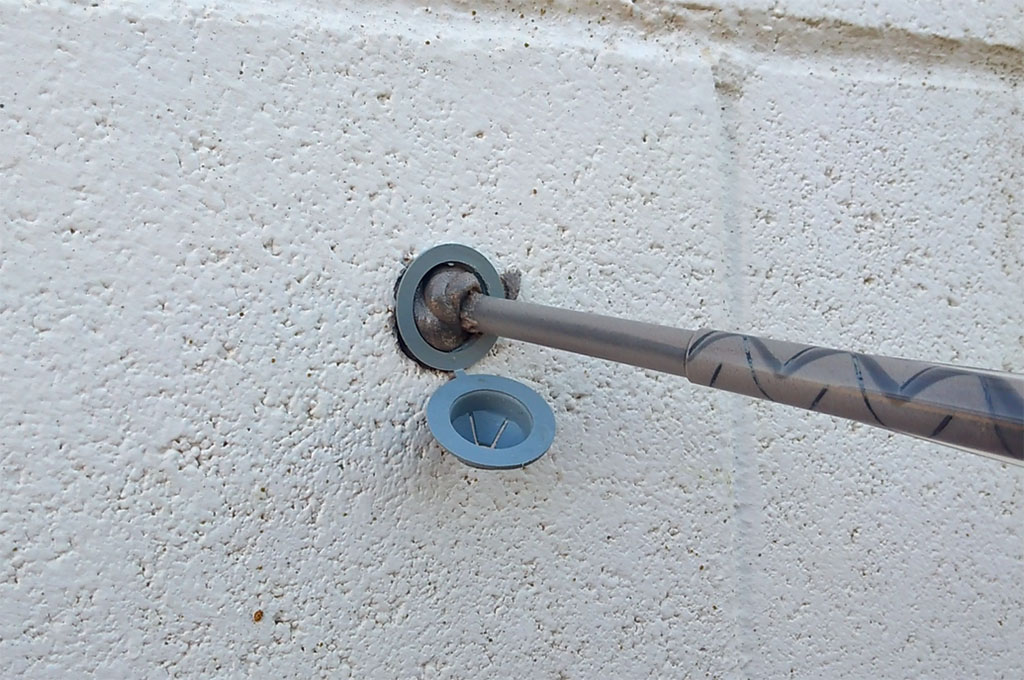
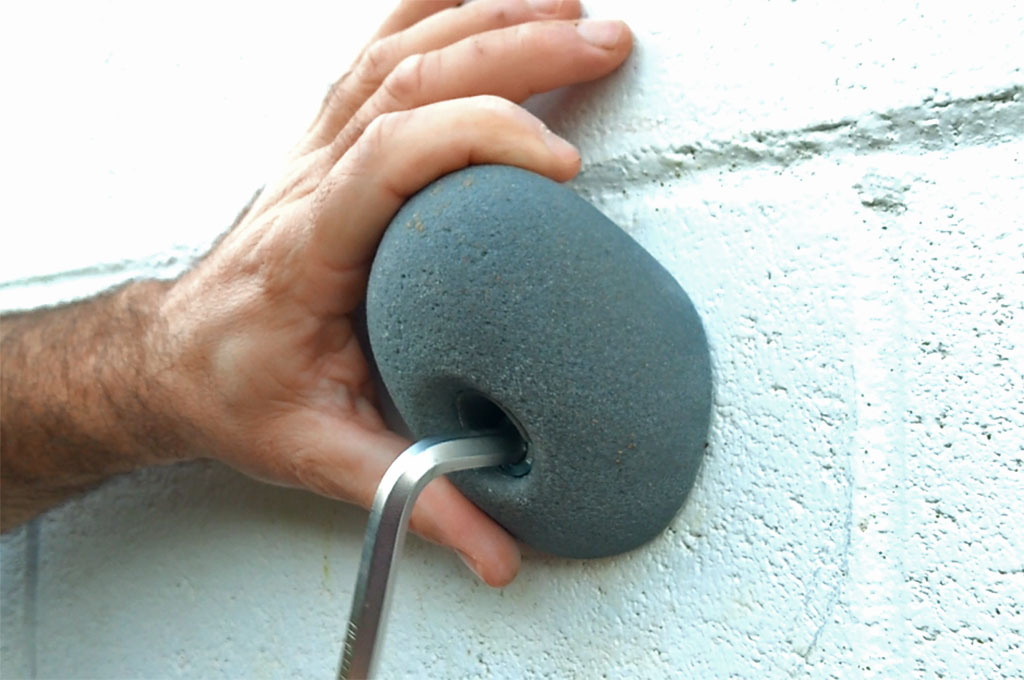
6. Insert the metal socket to the bottom. It must not protrude from the wall, so that the dam is flush with the wall and does not twist under load.
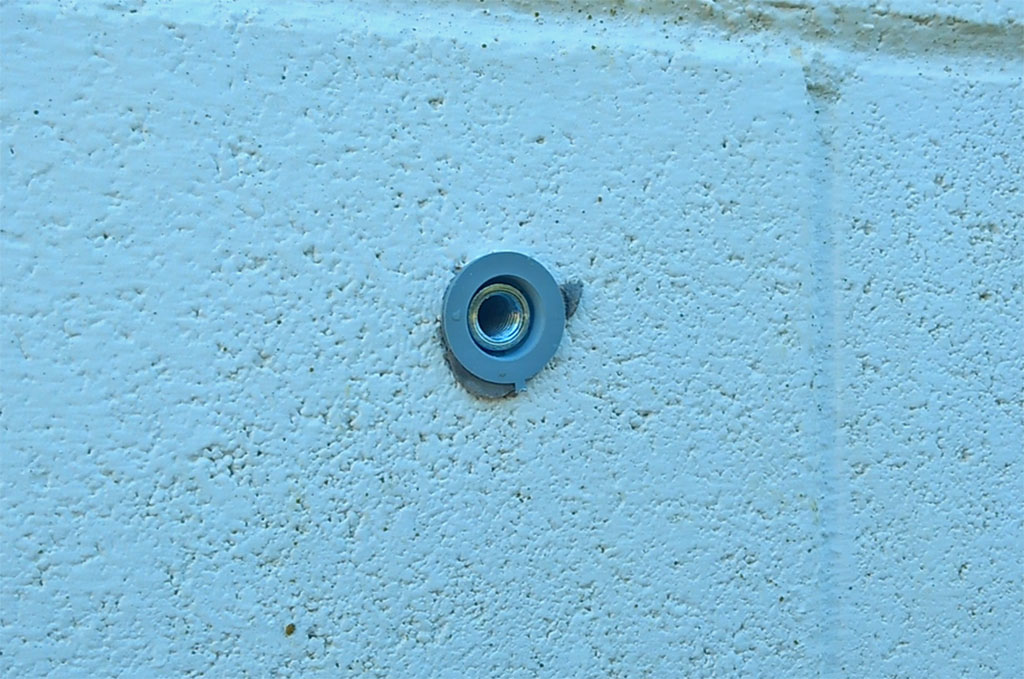
7. Leave to dry for 24 hours.
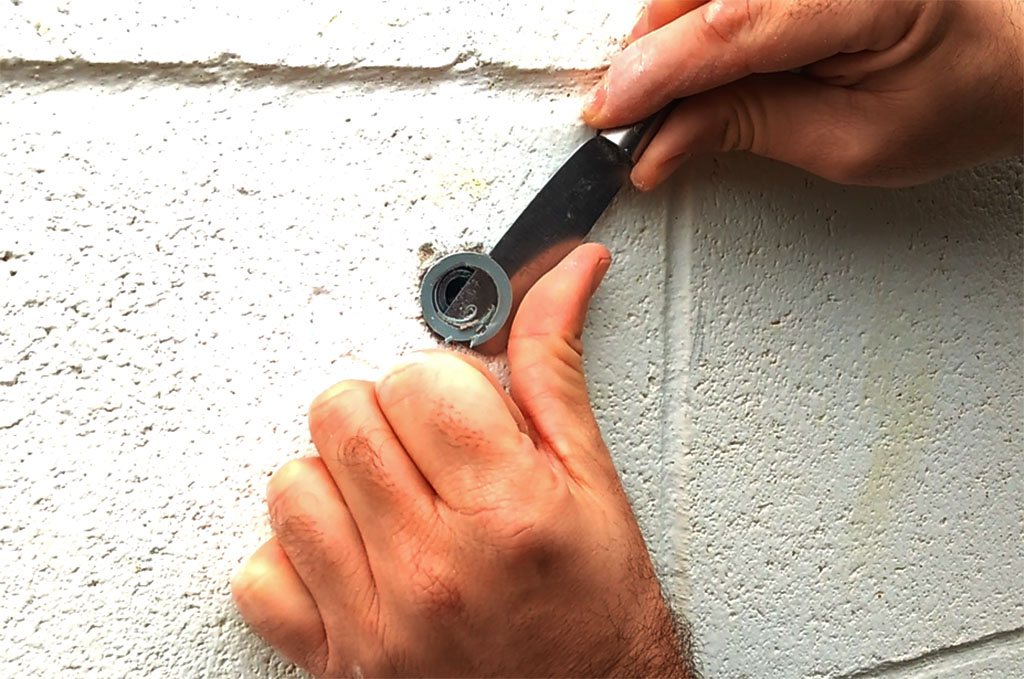
8. Remove with a razor all plastic protruding from the wall.
9. Position the dams.
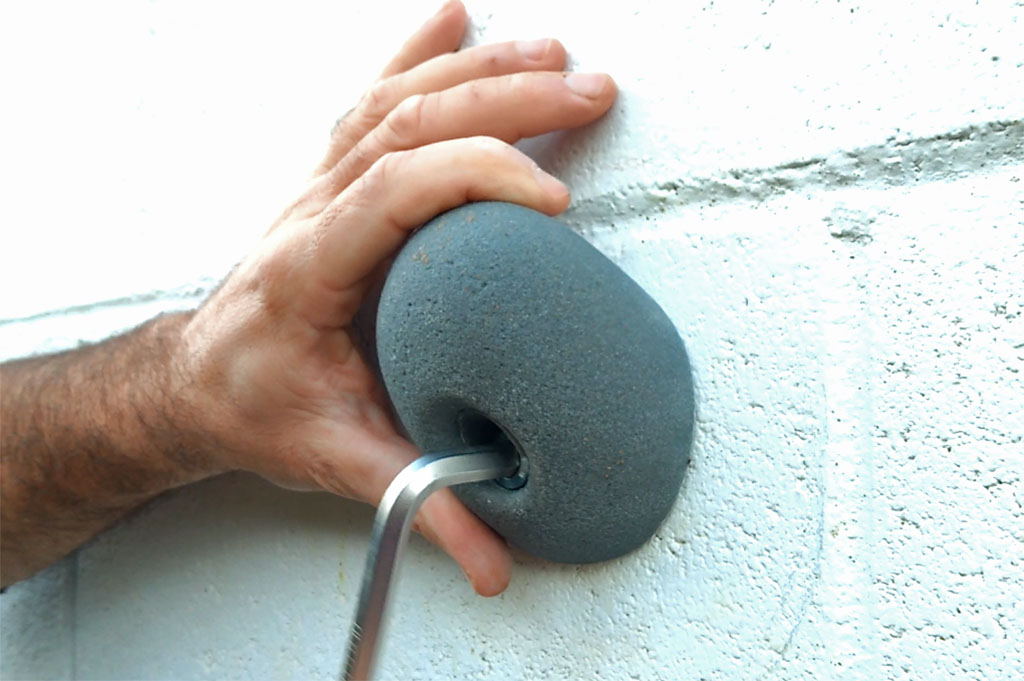
10. Climb!
You may be interested in:
Basic climbing equipment: the essentials >>
Fastpacking is not about going faster. It's about going lighter.
If you come from classic trekking, this is the next step: learning to move with less weight,
more fluid and enjoying every kilometre more.
Join the Outsiders Newsletter and start discovering what lightness feels like.