Ferrata de la Zapatilla and chasm of Tortiellas
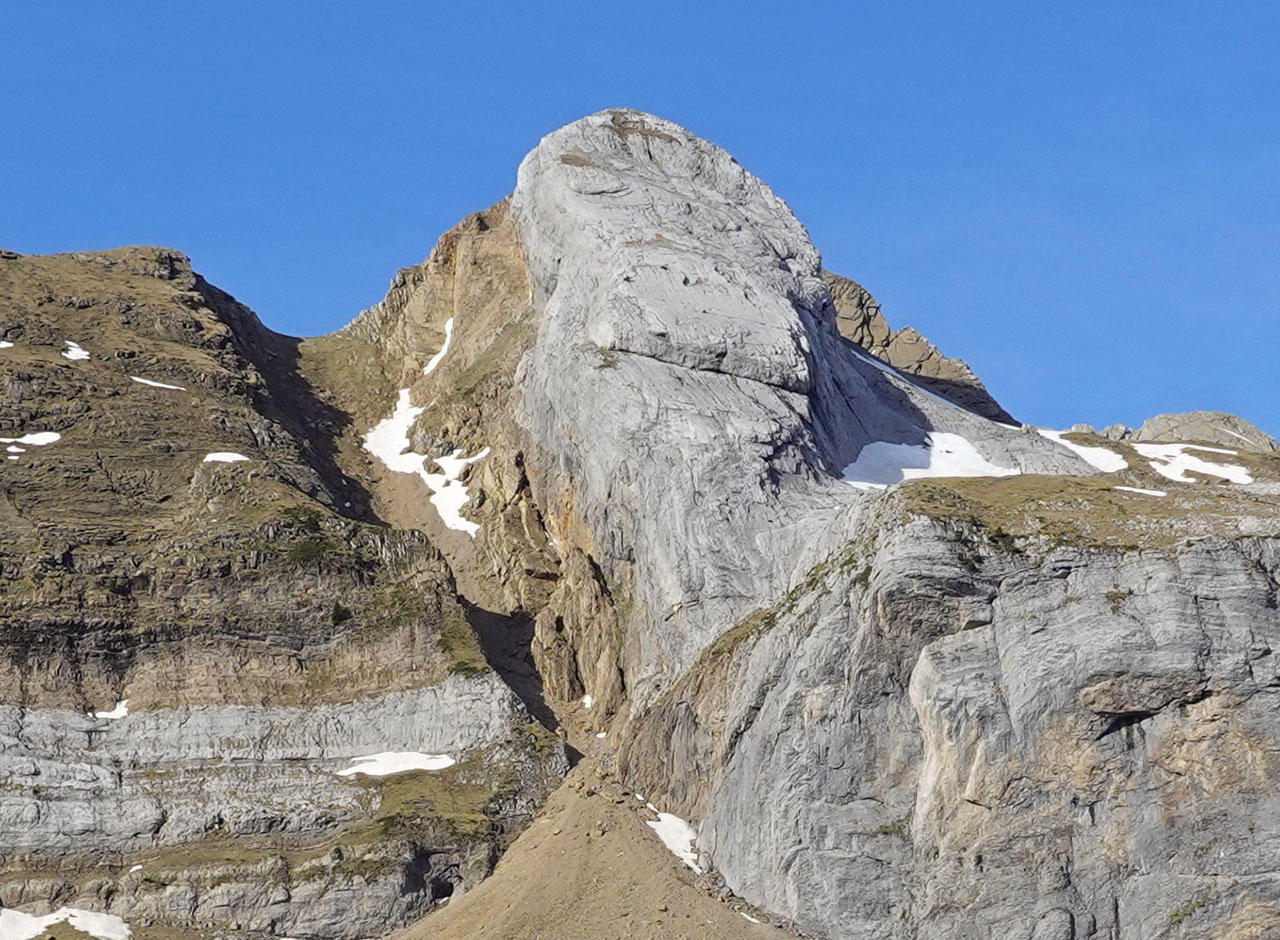
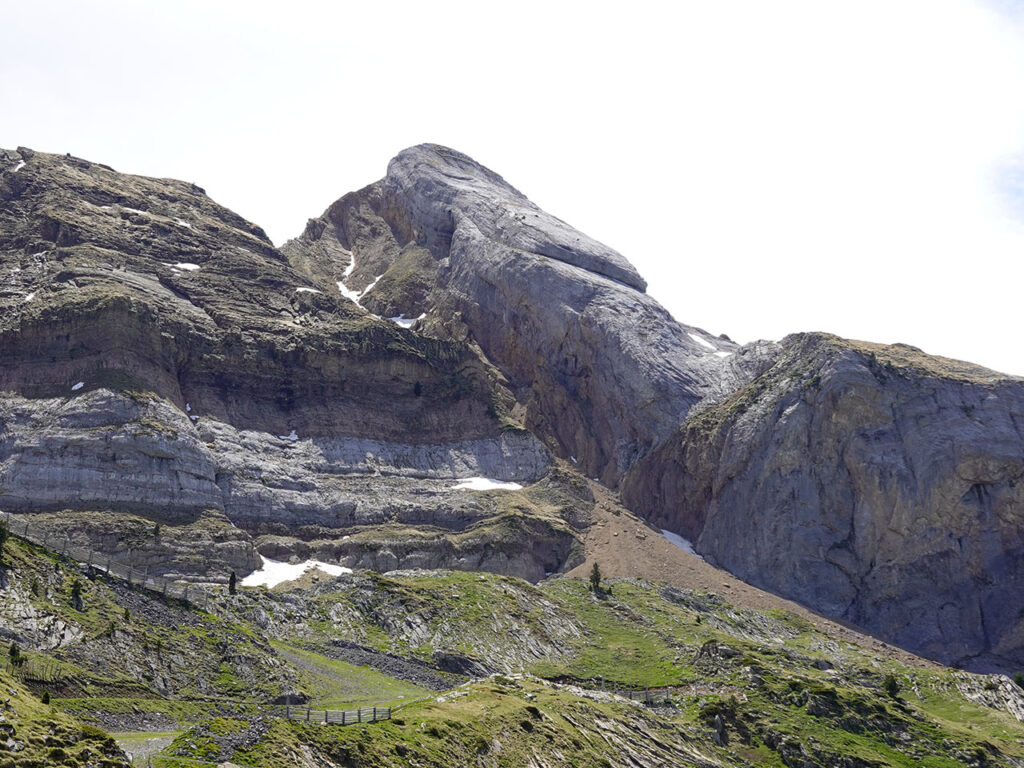
The ferrata de la Zapatillaor rather, the equipped road to the Zapatillaconsists of a lifeline (steel cable) that runs along the rocky barrier at the foot of it and the sole, to its northern summit or toe of the shoe.
More than a ferrata, we can speak of an equipped path, as apart from the cable, we will only find a couple of clamps and a couple of sections with a chain. to hold on to, the rest are the natural prey of the terrain.
An activity that is often combined with the descent of the Tortiellas chasm. and since it was re-equipped in 2015, it has become very popular. Its secret, it is a very simple and safe climb, in a formidable high mountain environment, culminating in the most beautiful and recognisable peak of all those that dominate the Candanchú ski resort. An activity to which you can put the finishing touch by continuing to the true summit, separated from the heel by a beautiful ridge (PD), and as we said, descending through the Tortiellas chasm (90m; 3 abseils).
TABLE OF CONTENTS
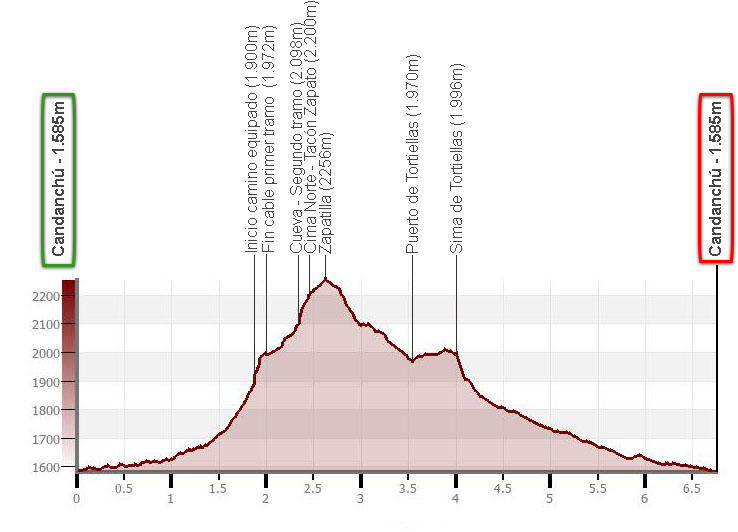
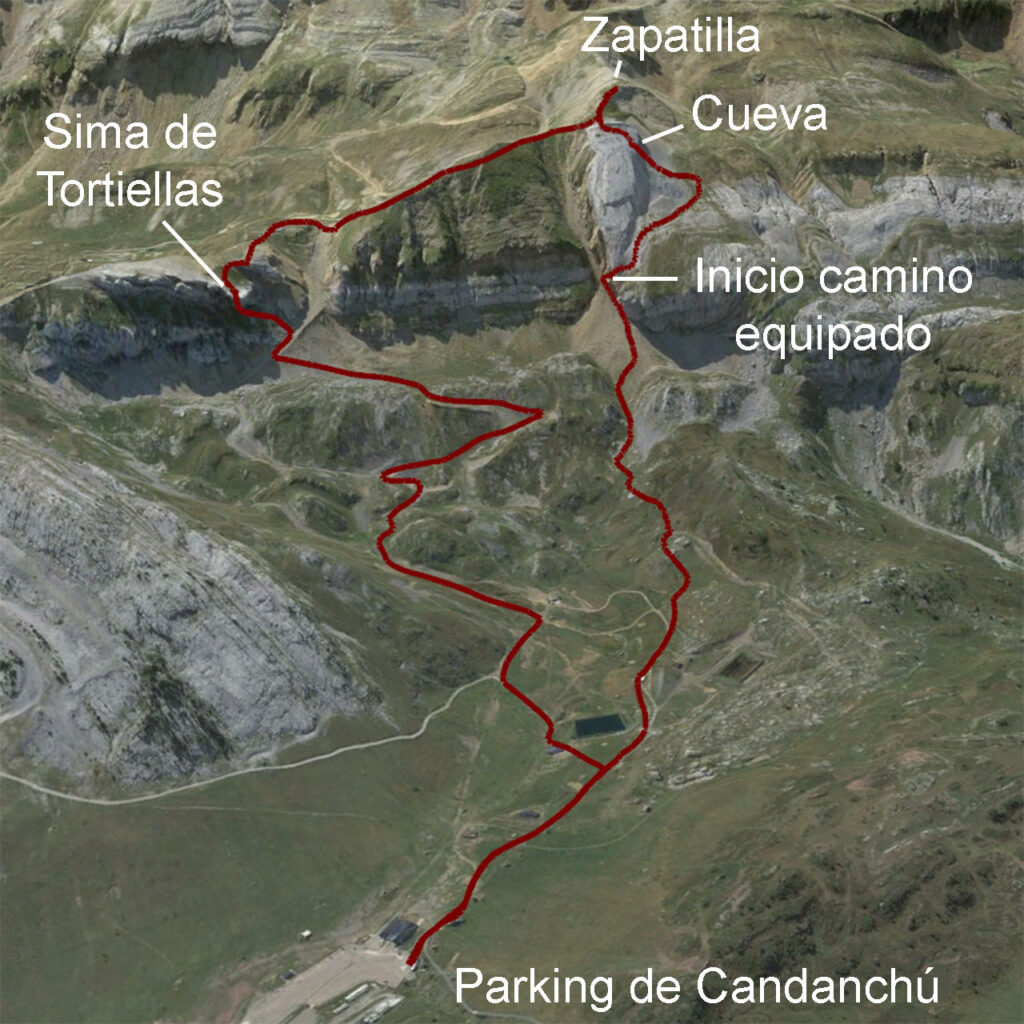
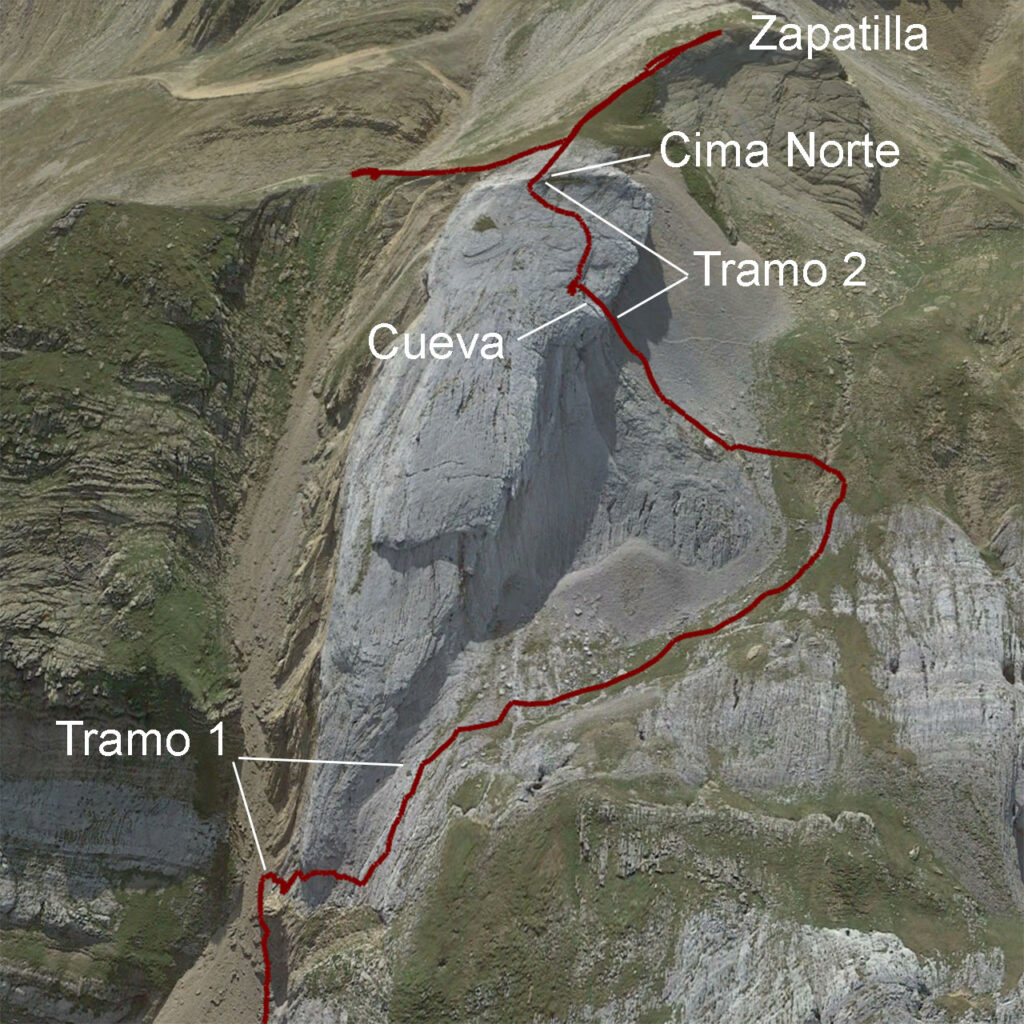
- Map, profile and sketch of the route
- Downloadable track (.gpx)
- Summary
- How to get there
- Technical sheet (distance, slope, timetable, water, difficulty, equipment)
- Itinerary
Map:
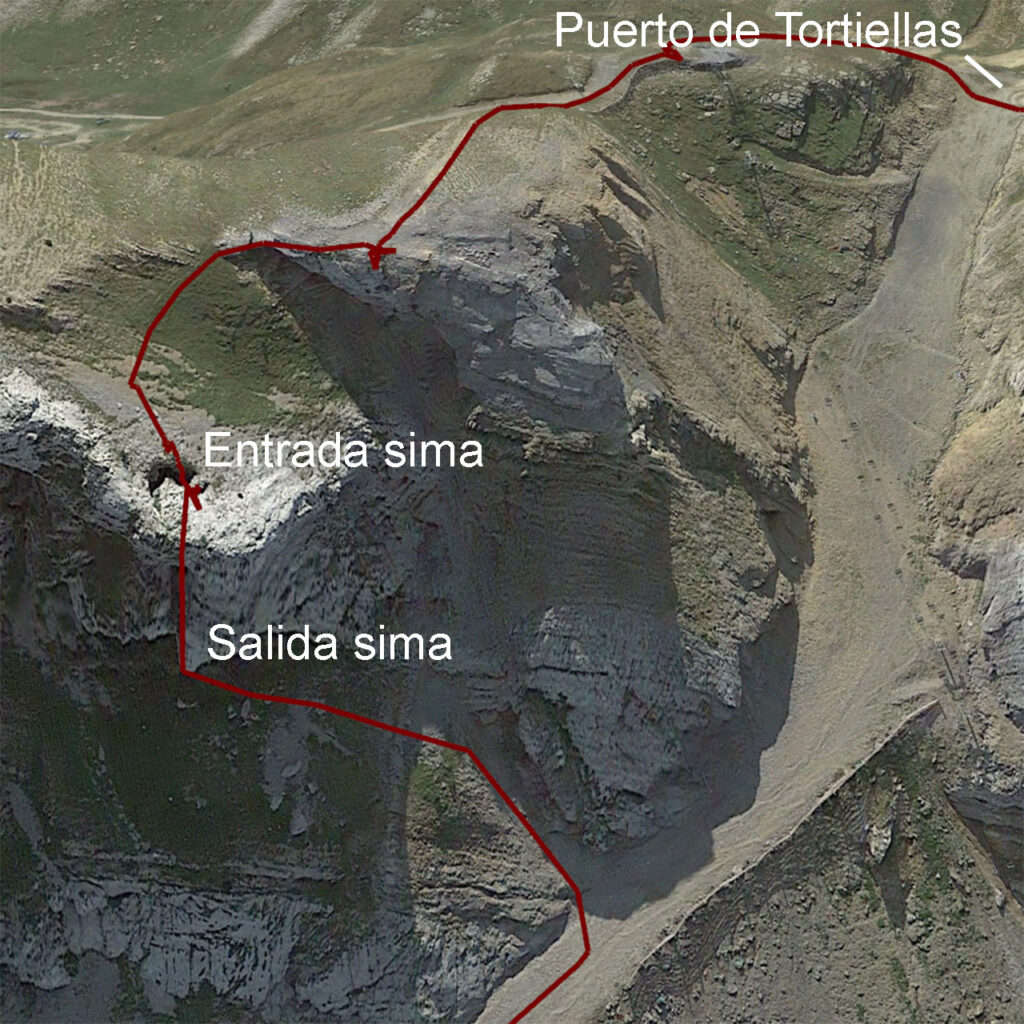
Downloadable:
> Download Track
Summary:
From the end of the large car park of the Candanchú ski resortwe will head over obvious terrain towards the Trainer tubevisible at all times. At the beginning of the corridor, an information plaque and the cable itself unmistakably indicate the start of the route. The first equipped section of the track ends on a sloping plateau (Loma Verde), to the right of the sole. To climb up to it, look for a hollow a little higher up, which we cross to access the top of it. On ground that is more steep than it may seem from below, you gain the north summit or Toe of the shoewhere the cable ends. Needless to say, the views are breathtaking. The ridge leading up to the top of the ZapatillaThe path, some 200 metres away, is very aesthetically pleasing. At first glance it looks simple, but a more impressive than difficult gap cuts the passage (PD). The descent is also equipped with a lifeline to the entrance to the Tubo de la Zapatilla. Once on solid ground you continue to the Port of Tortiellasor later, until the chasm of the same name. By means of three non-consecutive abseilings, the 90 metres of depth that cross the entrails of the wall of Tortiellas can be crossed. At the exit, an obvious descent between ski slopes to the consumer's liking, brings us back to the start of this route in Candanchú.
How to get there:
See in Google Maps.
The starting point for this excursion is the car park of the Candanchú ski resort, which can be reached via the N-330 from Jaca (30kms) in about 30 minutes.
Distance: 6,7kms.
Cumulative difference in altitude: 715m.
Timetable: about 6-7 hours. Walking time without stops: 5h50min.
Water: We did not see any fountains along the route.
Difficulty:
Approach and return: The approach is short and obvious and from the car park you can see the start of the route. The last section along the rocky area is demanding. The return via the ski slopes is not difficult at all.
Equipped path and summit ridge: The climbing is very easy throughout, but climbing nonetheless. The most athletic and vertical section is in the cave, at the beginning of the second equipped section. Two clamps help to overcome a vertical step of about 2-3 metres. It is ideal for beginners. The crest edge, an extra to the via ferrata in a way, is the only place that can be impressive because it is not equipped with a cable. An easy, atmospheric cliff or an 8-10 metre abseil are the two options available for those who are not willing to give up the summit. The descent of the peak is also equipped and has a difficulty equivalent to that found on the way up. The added difficulty lies in the type of terrain, which is more prone to accumulating snow, which in late spring could be a problem if there are still some snowdrifts burying the cable.
The chasm of Tortiellas: The first rappel can be impressive because of the verticality and the way to enter it, but it is very clean and easier than it looks. The second and third rappels are very steep but you have to pay more attention to them because of the rockfall. In any case, the one who goes first has plenty of room at the bottom to hide from the stones that the second one may throw, which will be rather few.
Necessary equipment : for the equipped route, helmet, harness and via ferrata set. For the chasm, a rope of at least 55 metres, descender, a safety carabiner and 6-7mm rope for machard/prusik. For the top of the Zapatilla we can use the rope (8-10 metre rappel).
Itinerary:
(0h00min; 0,0km) Candanchú - large car park (1.585). At the end of the car park there is a path heading west (Pista Grande / former GR11) that leaves a large building on the left and a bar on the right. A little further on, we leave a pond on the left and take a junction on the left (pista rinconada) that leads to a tarmac track created for Nordic skiing. With the Zapatilla always visible, it's a case of following your intuition a little.
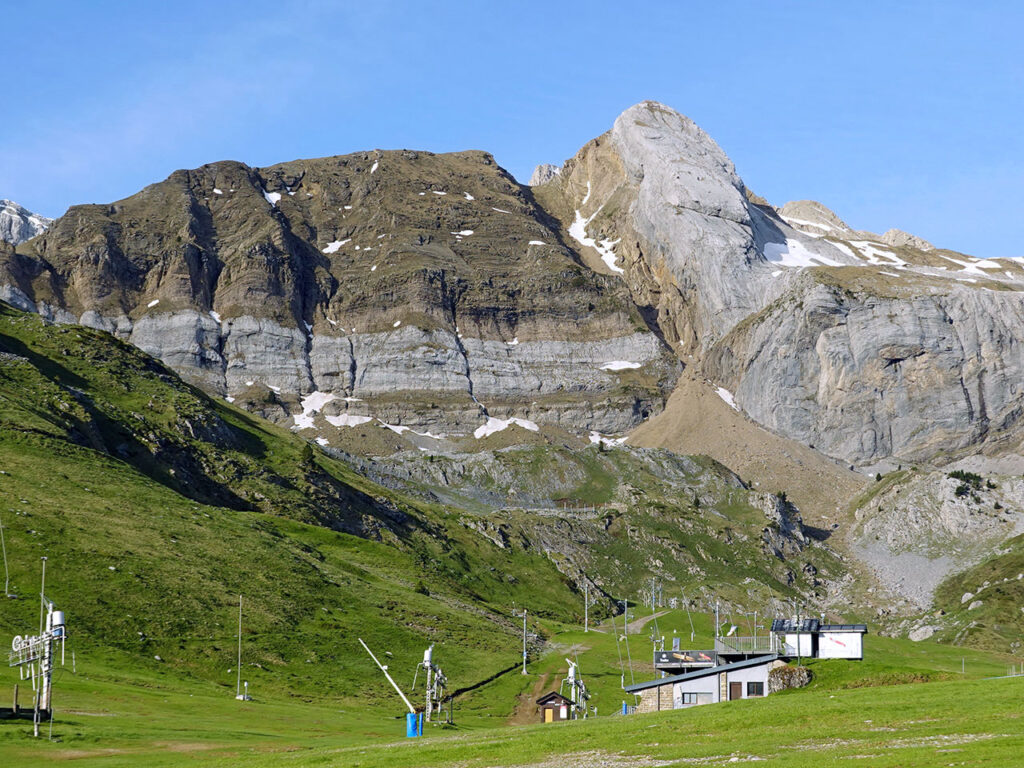
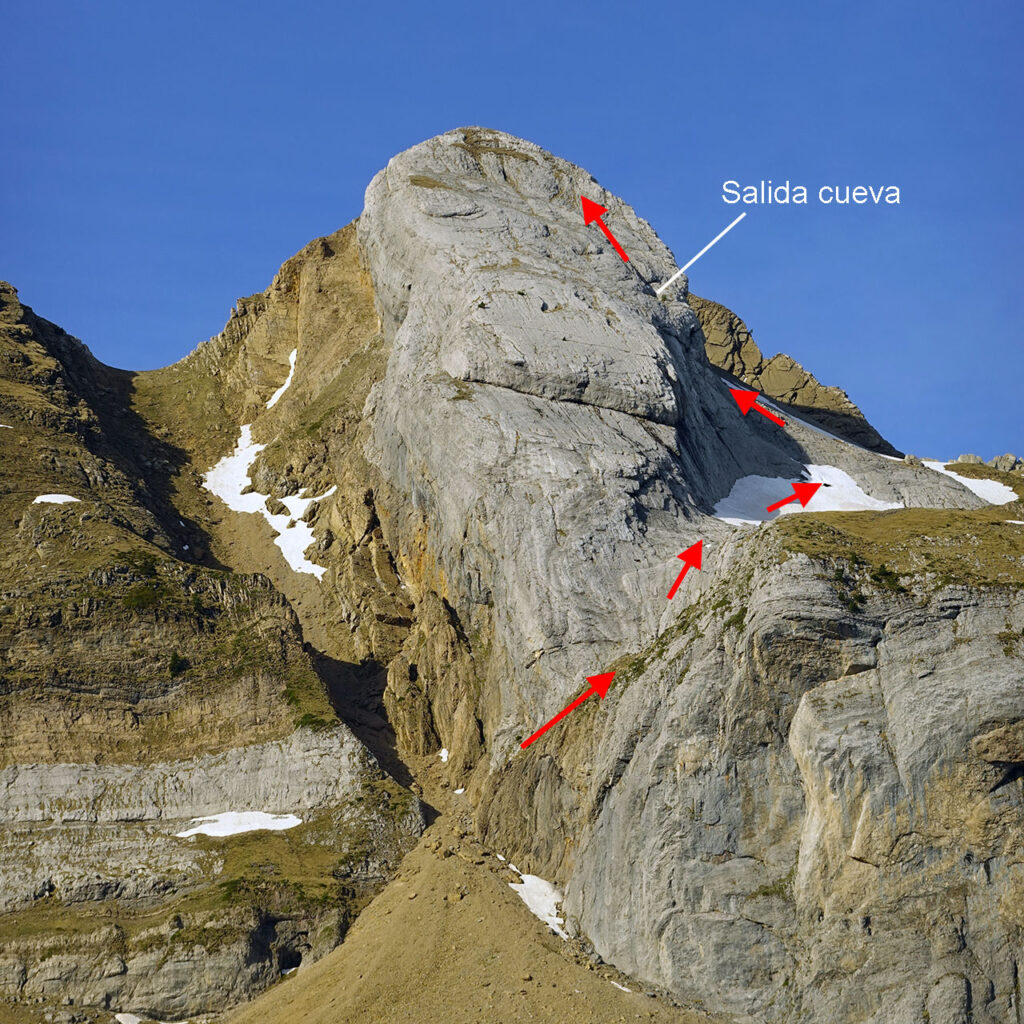
We can enter the small valley that opens up at the end of La Rinconada or gain a little more height along the tracks and go higher up. On one side or the other, at the end we will find a path with milestones.
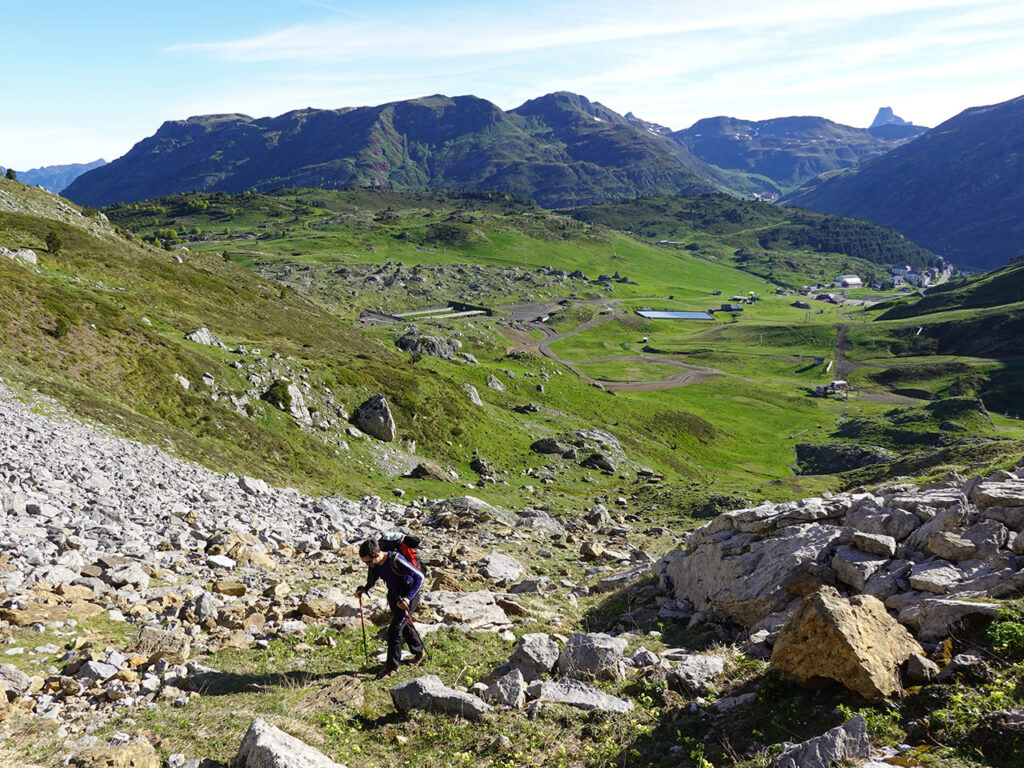
In any case, what is non-negotiable is to go up the pipe's ejection cone. We will try to find the most stable part by getting closer to the wall.
(1h05min; 1,9km) Start equipped path (1.900). An information plaque marks the beginning of the track.
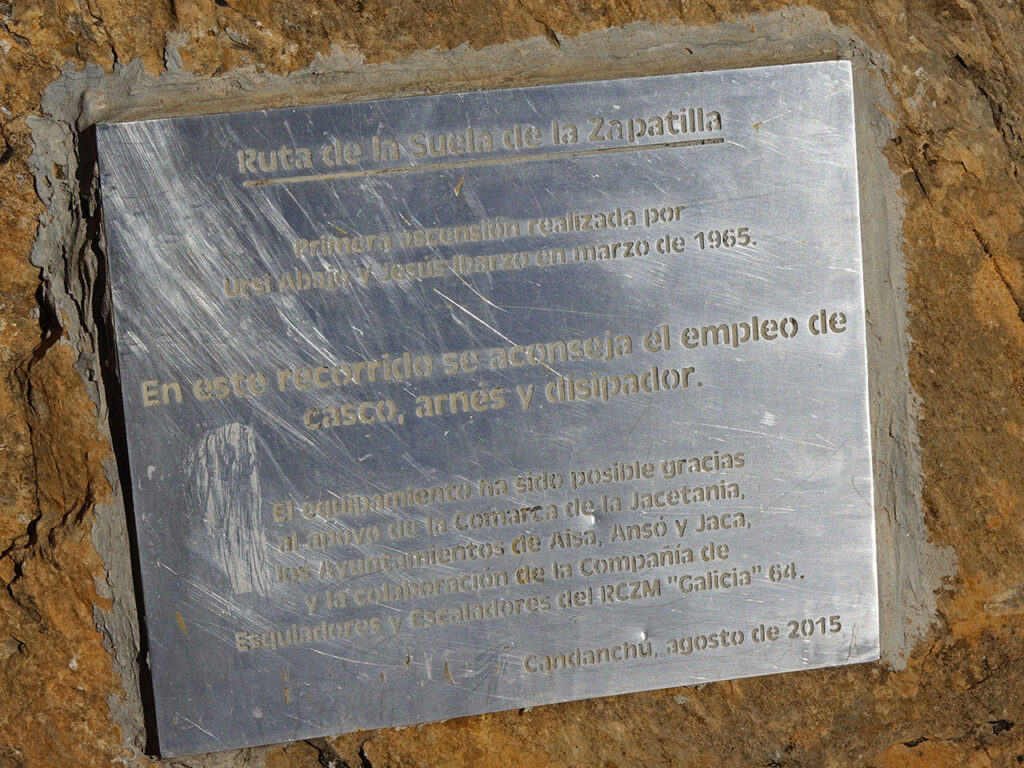
On it you can read that the first ascent was made by Ursi Abajo and Jesús Ibarzo in March 1965 and equipped in 2015.
The climb begins by climbing up an oblique right-hand vira, equipped with a steel cable. The lifeline runs along the wall from left to right and upwards, without giving rise to confusion when it comes to finding the route. The difficulty is not very steep but the presence of the cable is appreciated.
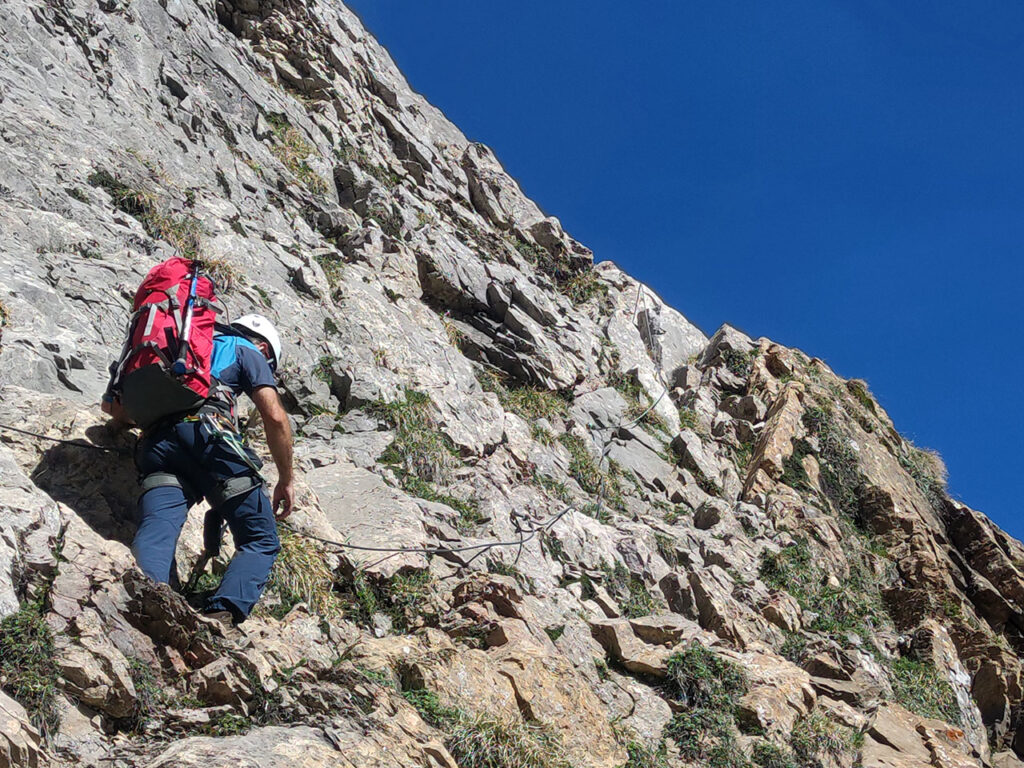
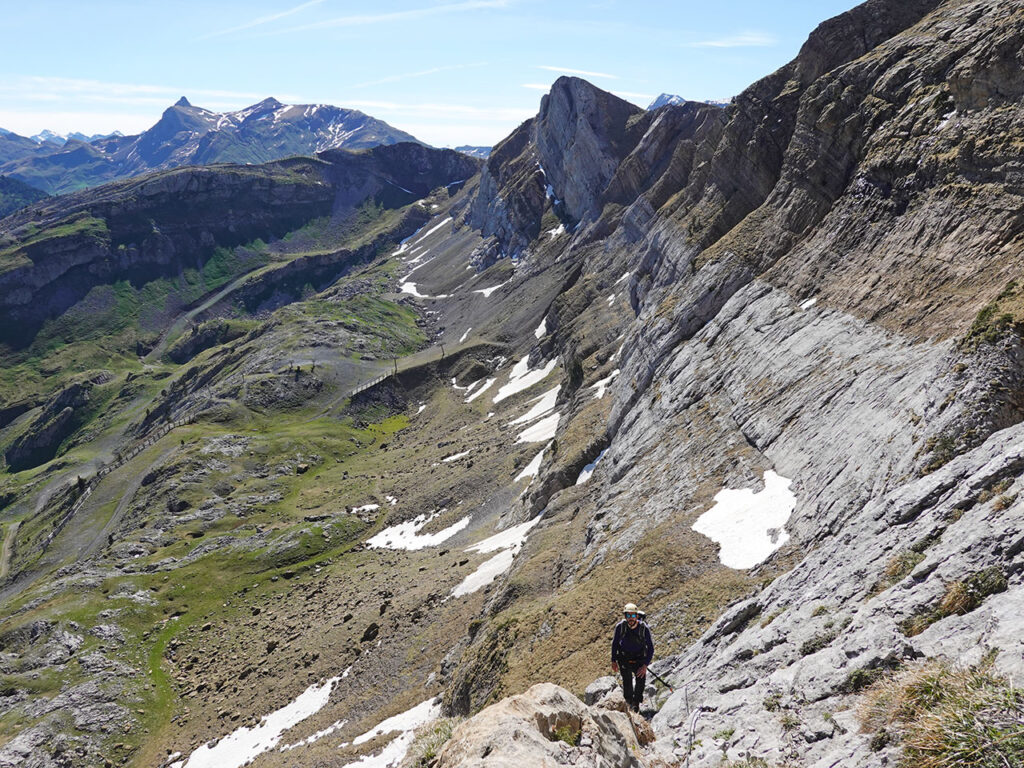
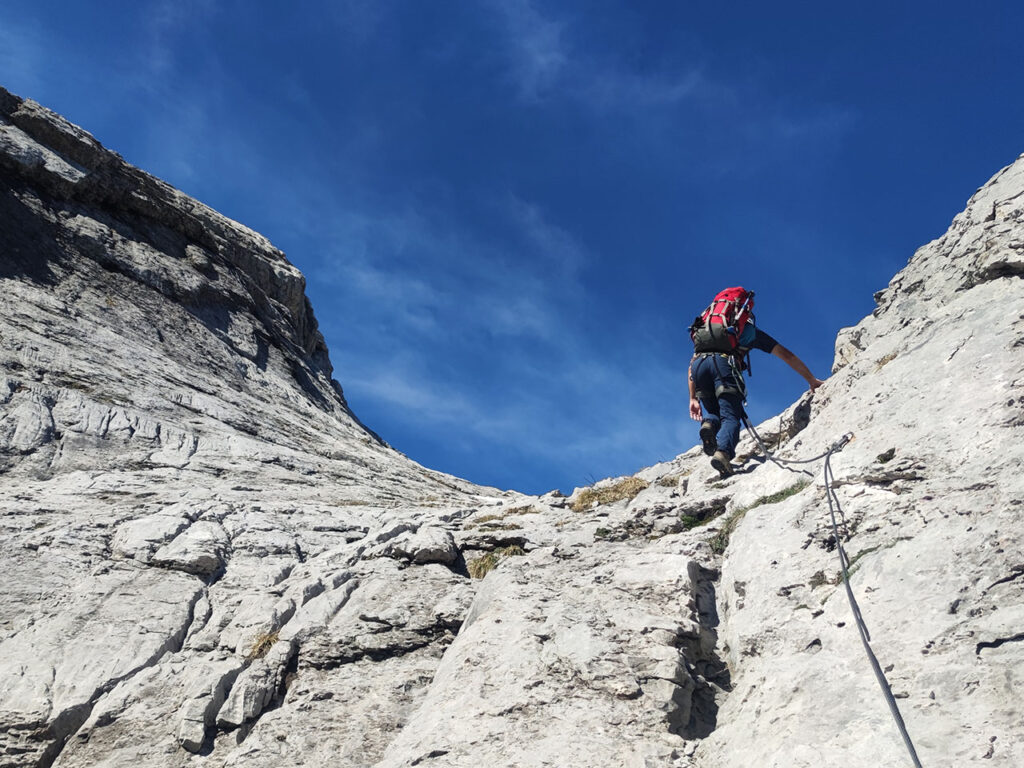
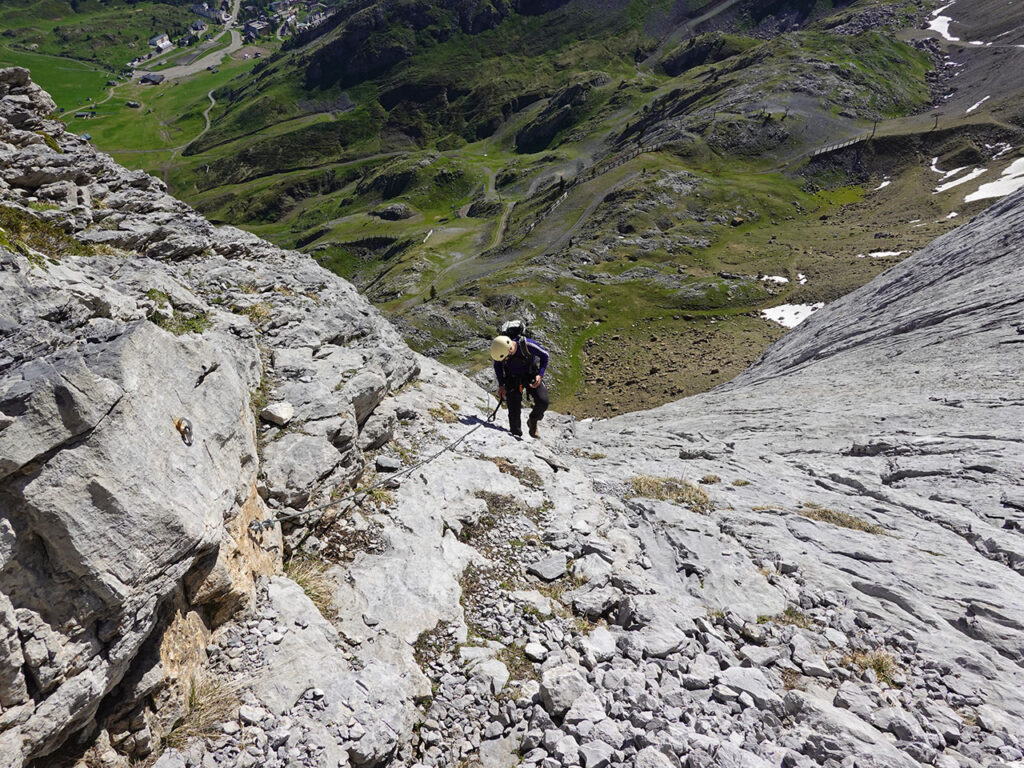
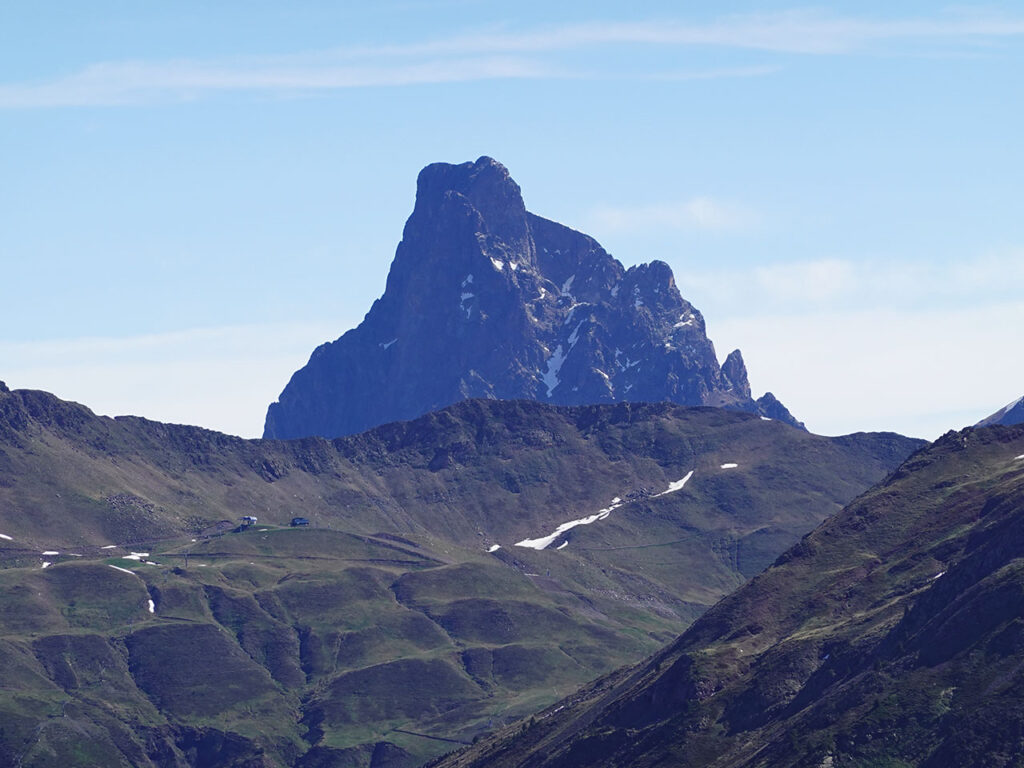
(1h25min; 2,0km) End of the cable (1.972m). The first equipped part of the route ends after overcoming the rocky strip, on a slope that opens up to the right of the Zapatilla (Loma Verde). We do not go very far from the left wall, just enough to gain some height and identify the cave that gives access to the upper part of the sole.
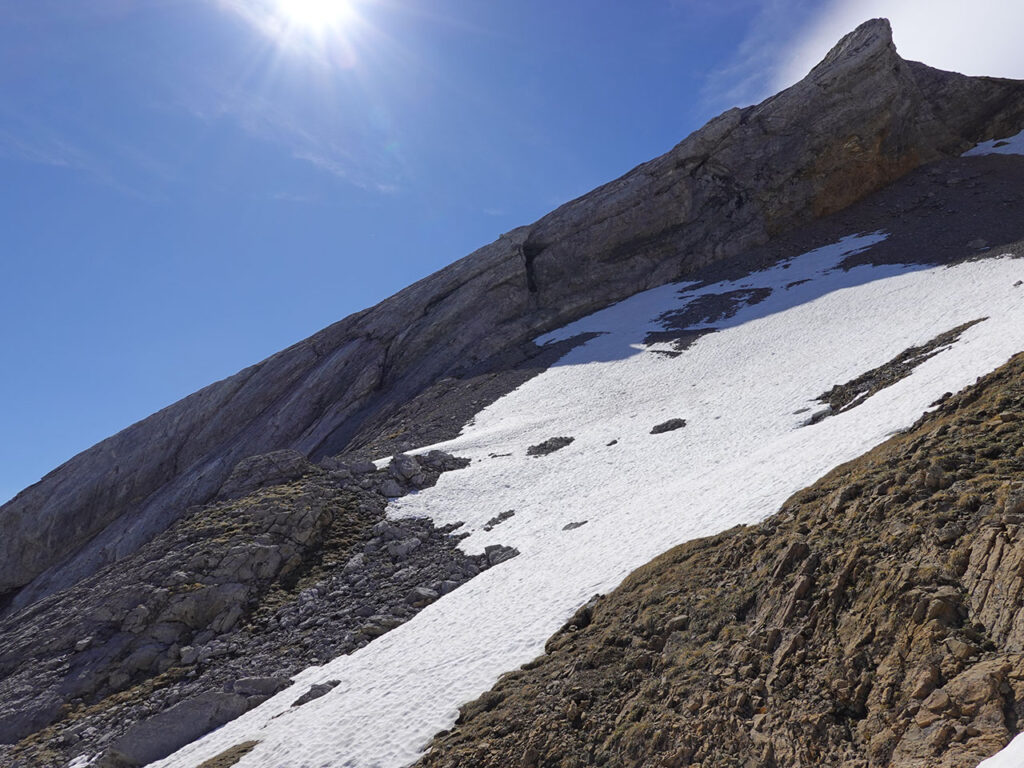
(2h05min; 2,3km) Cave - Start of second equipped section (2.098m). A 2 or 3 metre step, equipped with a pair of clamps at the entrance to the cave, for which no torch is needed, is the most vertical section of the whole route.
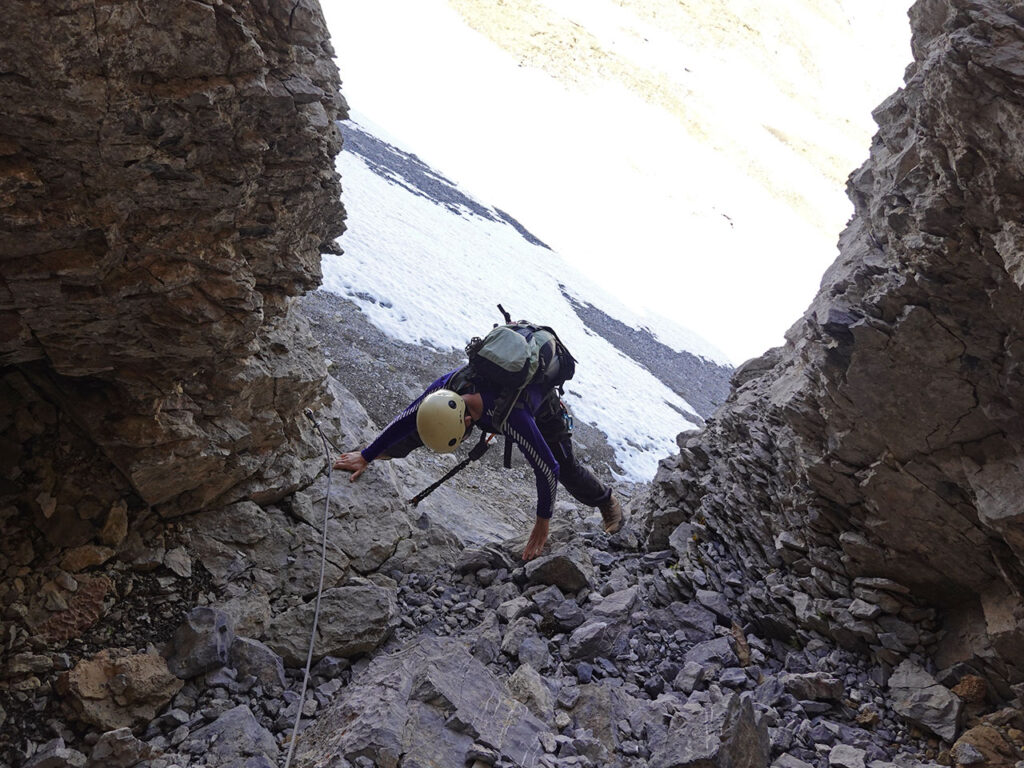
Once on the other side, at the top of the sole, the final stretch to the top follows a long, slightly steep climb and a series of steps.
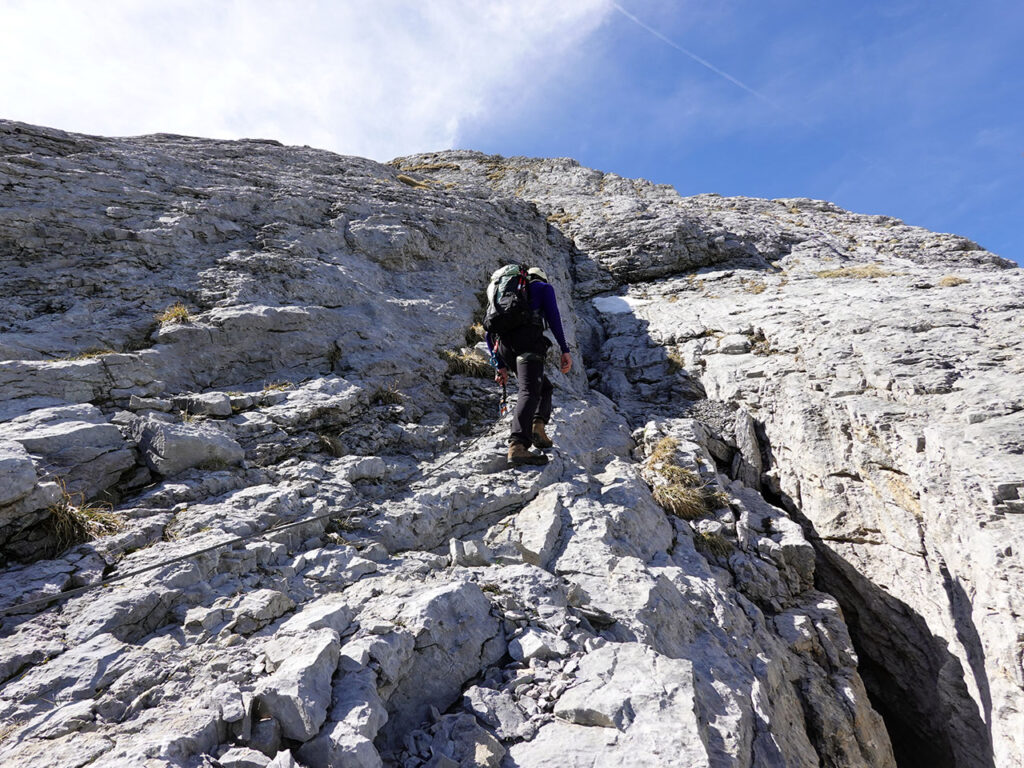
(2h35min; 2,4km) Tacón del Zapato - Cima Norte de la Zapatilla (2.200m). Splendid views towards Candanchú and the wall of Borau, although not so much towards Aspe, partially covered by the main summit.
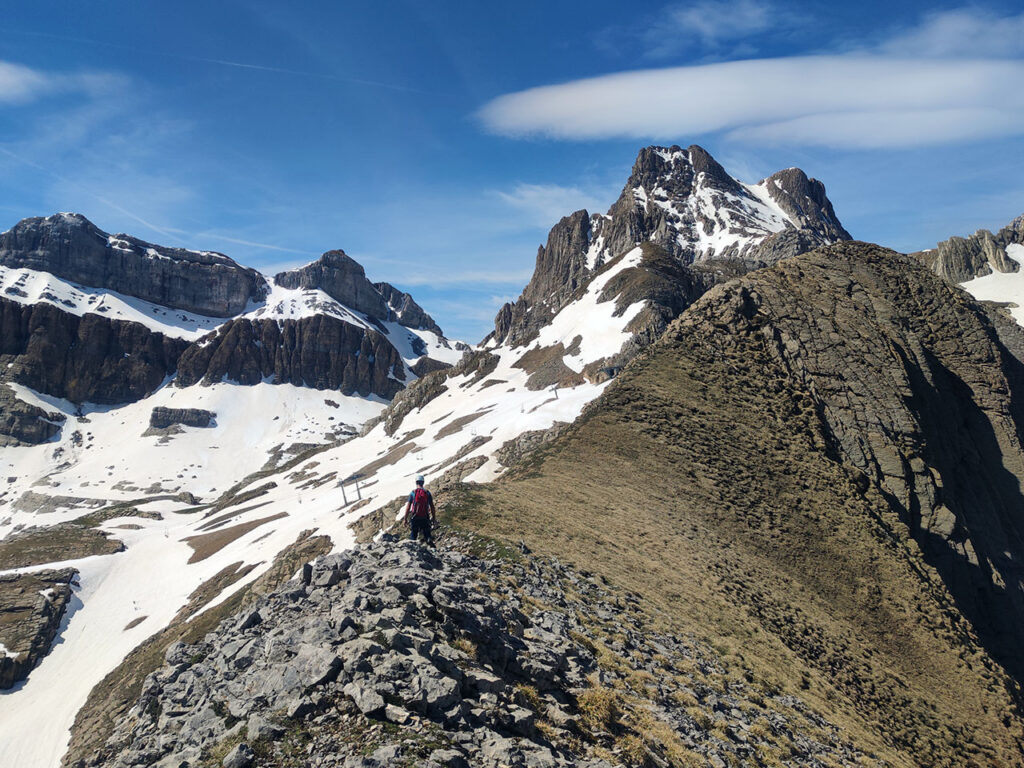
If we want to reach it, which is barely 150 metres away, we must first go over the pass that separates them, where we take the path down. The ridge, which is quite aesthetic, is interrupted by an almost imperceptible gap from the other summit, where there is a rappel installation that invites you to drop down to the left 8 or 10 metres. Climbing it is also possible and would be easy, but the drop is a respectful one. From the gap to the summit it is easy and if you have done the abseil, you can leave the rope on for the return.
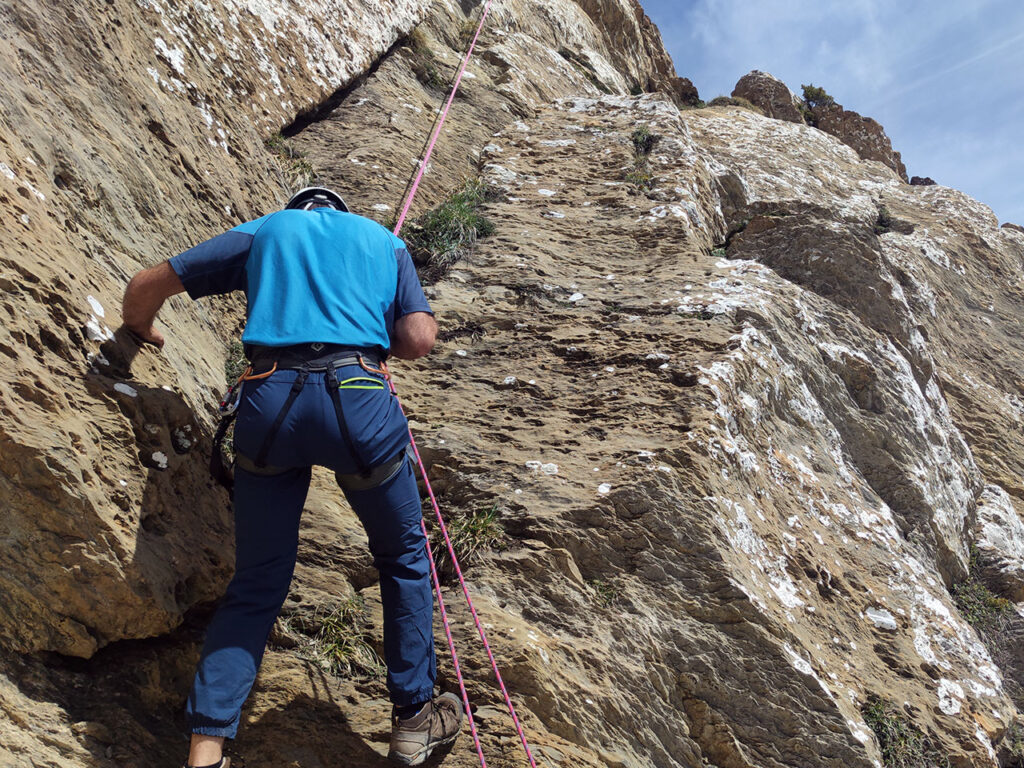
(3h00min; 2,6km) Zapatilla (2.256m). The views towards Aspe improve but it is still not completely visible, somewhat obscured by the Esper ridge. On the way back to the pass that separates the two summits, we will notice a small path that descends to the right (coming from the main summit), where a new life line begins. The cable descends the eastern slope to end at the entrance to the Tubo de la Zapatilla, one of the most renowned descents that can be done in a ski resort and which is reserved only for experienced skiers.
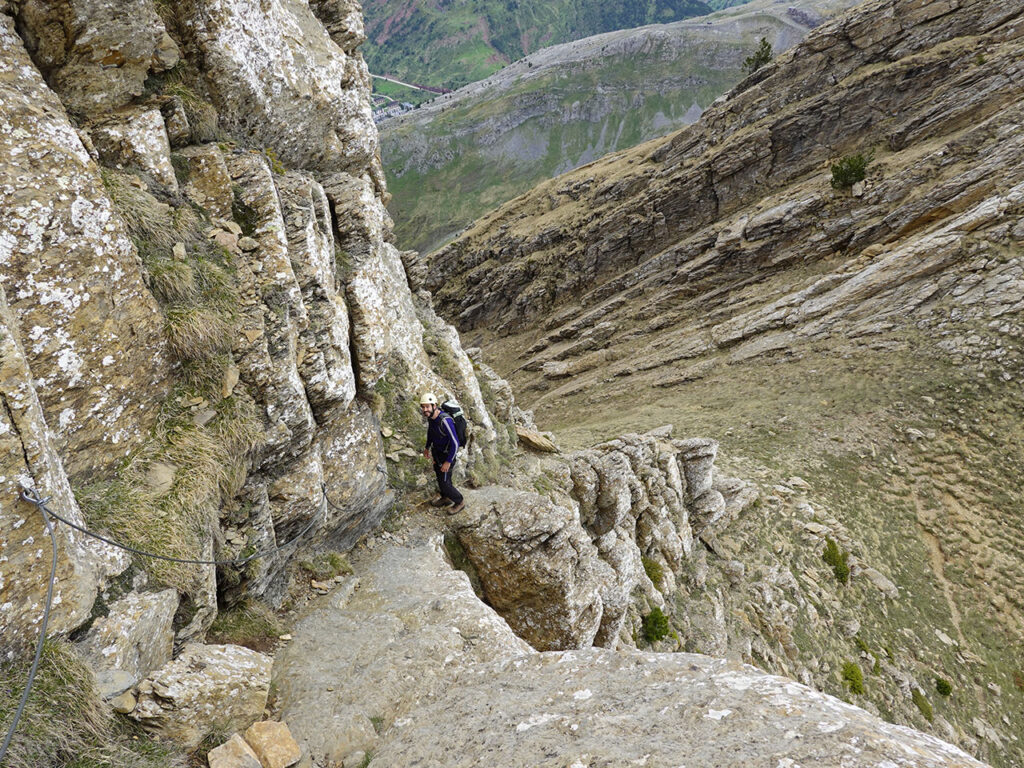
At the end of the cable, we descend without a path to the nearby "Quebrantahuesos" ski slope, to continue to the left along a path, then a trail, until we reach the...
(3h45min; 3,5km) Pass of Tortiellas (1.970m). Here we will have to decide whether to walk down or continue towards the chasm. If you opt for the chasm, continue ahead up a wide path for about 200 metres until you reach a bend on the right where you leave the track. A fairly well trodden path leads halfway up the slope to the entrance of the chasm, not to be confused with a previous one over the cut.
(4h00min; 3,9km) Sima de Tortiellas (1.996m). There are two possibilities for the entrance abseil. We have opted for the one on the right, which is newer and more impressive when it comes to positioning, but also cleaner when it comes to recovering ropes.
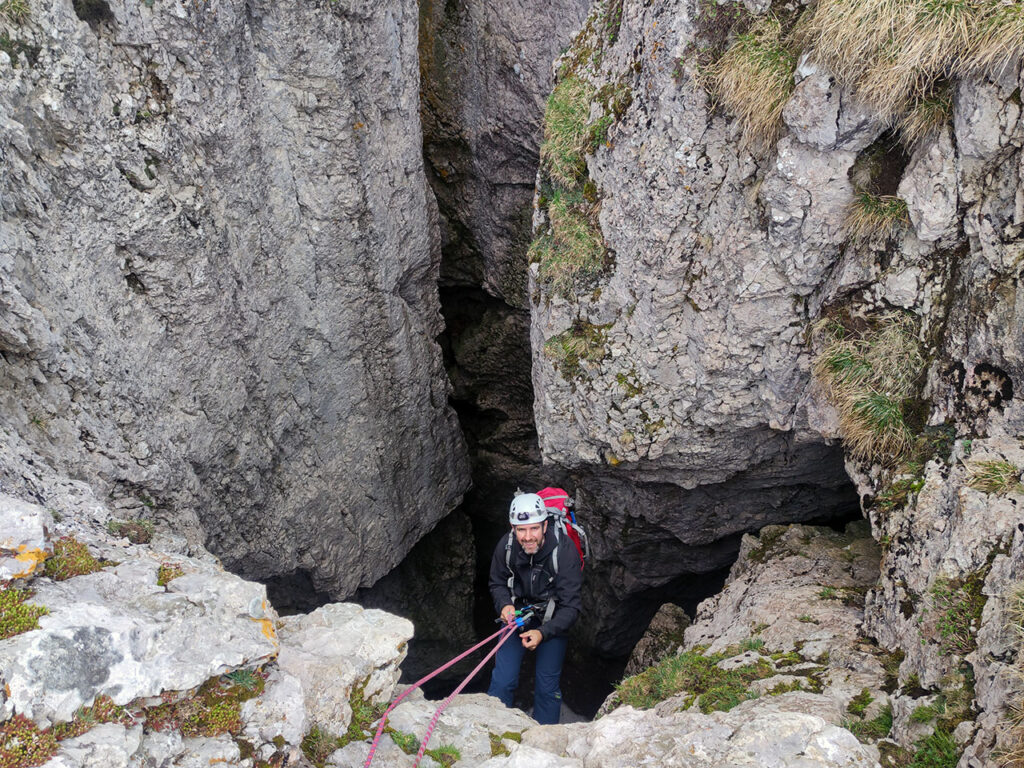
A totally vertical descent of about 20-25 metres brings us to a small room in which two identical tunnels are revealed. We choose the one on the left, equipped with a maillon for the abseil on the right wall. This second abseil is a little longer (25m) but more steep, except for the last few metres, and presents the added risk of falling rocks that we can cause ourselves with the rope.
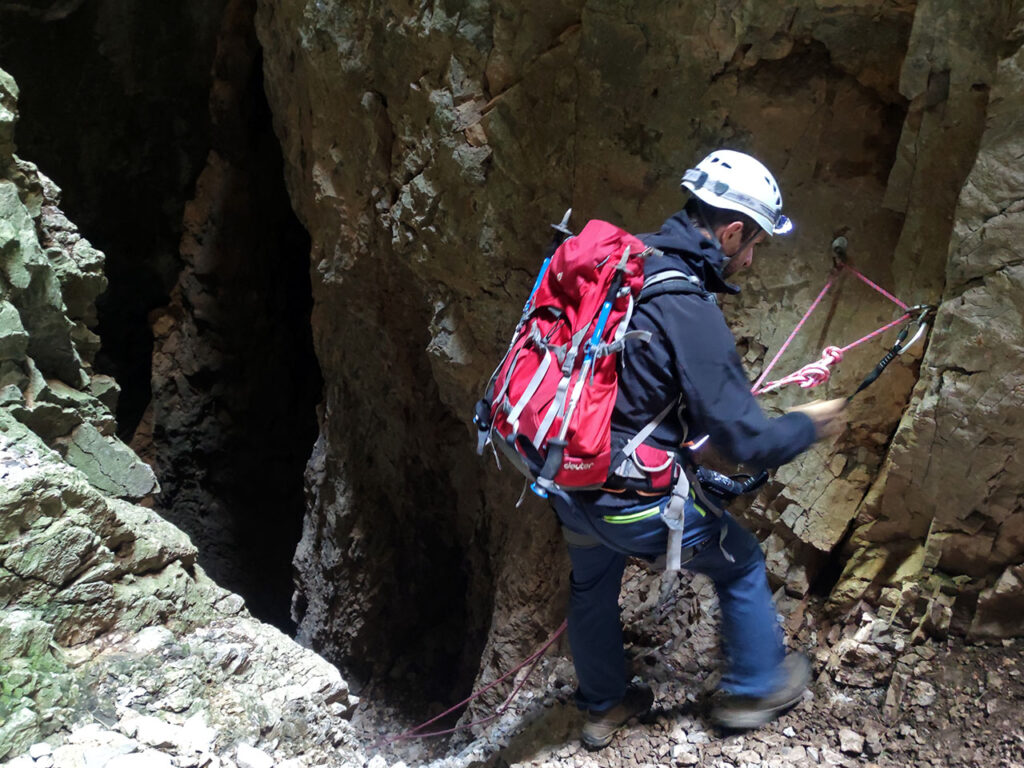
On the third rappel, the exit, you don't need a torch. It is very similar to the second rappel.
(5h10min; 4,1km) Departure from the chasm (1.905m). The exit of the tunnel is a bad place to stop for a long time due to the stones falling from above, from the cuttings we mean. The best thing to do is to put the rope away without too much delay and look for a safer place to rest and organise the rucksack. A small path close to the wall descends to the left, towards the ski slope that comes down from the Puerto de Tortiellas.
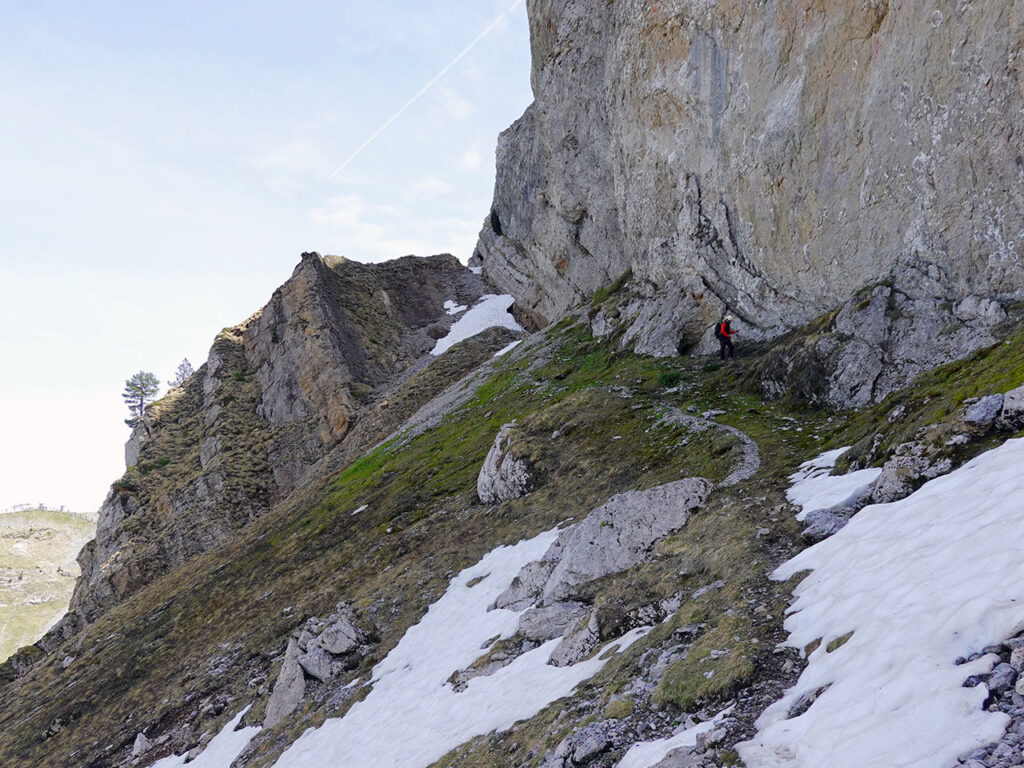
The return to the car park by following the track is no mystery and can be done at your own pace.
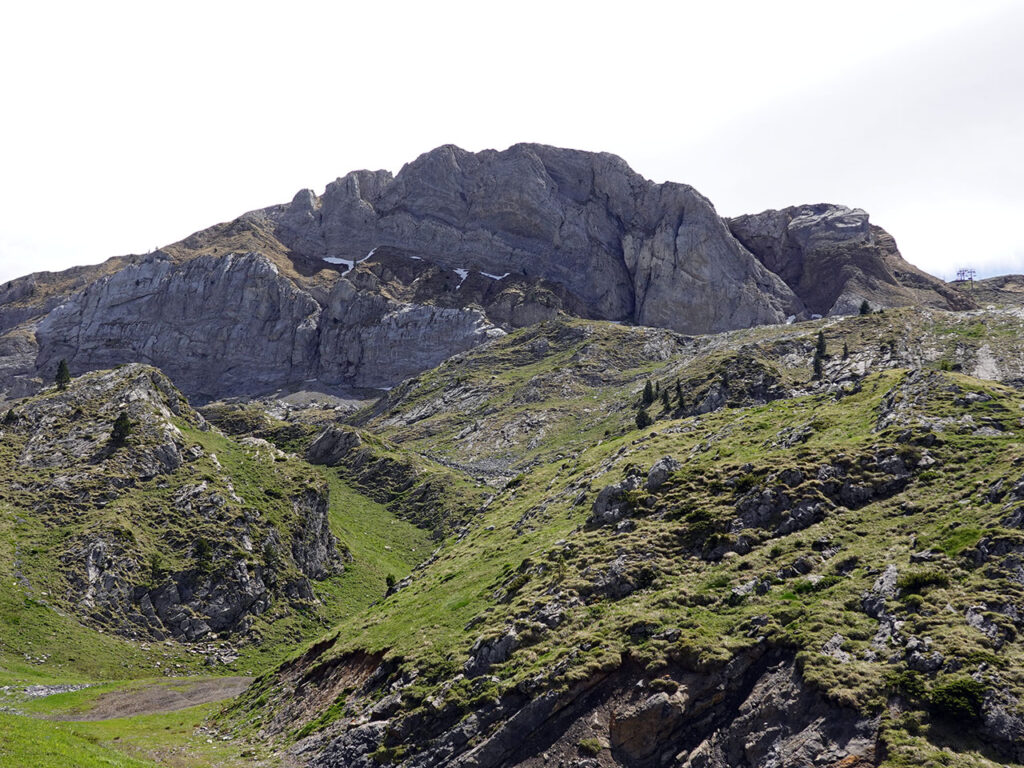
(5h50min; 6,7km) Candanchú (1.585m).
Don't miss any adventure in the Pyrenees!
