How to clean your water bottle or hydration pack
Pyrenees and mountains 📩
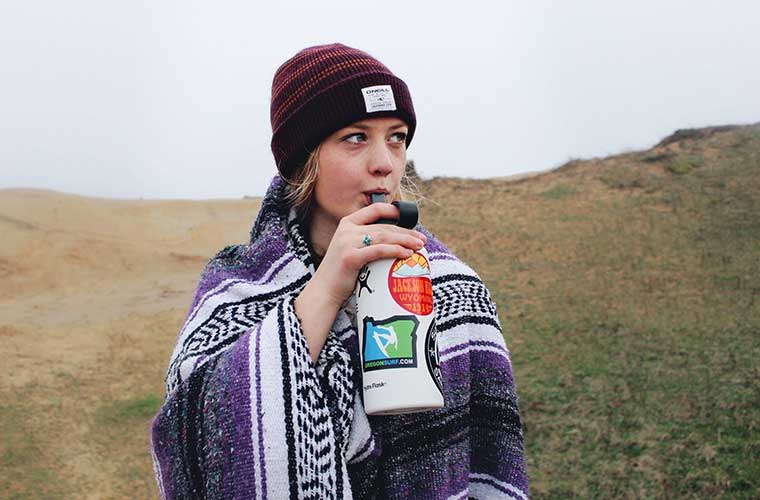
Here 🔥A good hydration is essential to get the best performance from our body in everyday life, and even more so when we exercise. So the containers in which we carry water or other liquids for hydration can be our best companions.
However, often over time, the containers we use tend to acquire bad tastes or odours. To avoid this, there are some simple things you can do with your bottles or hydration packs to keep them in perfect condition for longer.
Use and cleaning
Whichever container you choose to keep you hydrated, it is best to rinse it after use and let it air dry completely. Hot water can also be your ally for cleaning containers.
In general, bad smells or tastes in water containers are due to the fact that they are stored in damp areas or have been closed for a long time with liquid in them. Even if it is a very small amount, leaving liquid inside a container and storing it will cause bacteria and mould to gather.
Another cause of the bad taste may be that the container has been used to store some juice and has not been washed well afterwards. The sugars contained in these drinks are excellent for the proliferation of a large number of bacteria.
Soap and water
You can empty the container completely of the drink and then fill it halfway. You can also use hot water to enhance the cleaning effect. Shake it vigorously and add a little dishwashing liquid or liquid soap. Cover the container and shake it again to remove any dirt it may have.
If the container is very dirty, the procedure can be repeated as many times as necessary. You can also adding a few drops of bleach or chlorine to kill any bacteria. Afterwards, however, it must be rinsed off very carefully.
Abrasive stones
For an extremely dirty or mouldy container, an abrasive stone can be added to the above process. This abrasive stone will remove any debris that may be stuck to the container by the same abrasion process.
To use the stones, they need to be very clean. Before putting them in the bottle, make sure they are spotless.
Vinegar and bicarbonate
To clean the containers through the chemical methodWe will simply use two very common ingredients: vinegar and baking soda.
Fill the container three-quarters full with water. Add a good splash of vinegar and a spoonful of bicarbonate of soda.The same as the one used for heavy digestions.
When these substances come into contact with each other, they will bubble a little. This is perfectly normal. If the container is very dirty, use less water and more vinegar and bicarbonate.
Chlorine and bicarbonate
Combine a teaspoon of chlorine or bleach with a teaspoon of baking soda soda inside the container. Fill the container with water and let it stand for six hours or overnight.
The next day, or after a few hours, rinse the bottle and let it air dry until there is no trace of moisture left.
Mouthwash
A little-known trick to eliminate bad smells or flavours from hydration containers is to use antibacterial mouth rinse or mouth wash.
To do this, after leaving the container perfectly clean, rinse them with mouthwash. This will remove most of the bad odours.
Another secret is to use the same packaging as the denture cleaning tablets. These tablets will strip the containers of bacteria. Leave the container with a tablet in it overnight and then rinse it with warm water and soap. Allow to dry completely.
With brushes
Specially designed brushes are available on the market to reach all the nooks and crannies of hydration containers. They are generally designed for the hydration bladder, but can be used without any problem on a bottle.
Cleaning tablets
There are some tablets that are specifically formulated for cleaning hydration containers. In this case, simply follow the manufacturer's instructions to the letter to get the best results.
Clean valve and caps
The valve is the one place in the container that is most prone to dirt and bacteria accumulation. In general, the valve on hydration bladders is not usually removable, so it may be worth changing it from time to time.
For bottles, any of the above methods can be used, only the cap must be immersed in a container using either method, be it baking soda and vinegar, bleach or other.
For storing the containers
You're back from your excursion and have your containers perfectly clean and ready for the next adventure. If the date is very close, simply fill them with your chosen liquid and place them in the refrigerator to avoid bacteria growth.
But if there is no release date in the next two days, the best thing to do is to save the containers. But where?
An excellent idea is to clean the containers thoroughly, rinse them and store them empty and drained in the freezer. The cold will prevent fungi and bacteria from proliferating.
Knowing when to say goodbye
One very important thing to remember is that while a good container can last a long time and accompany you on many excursions, there will also come a time when it will need to be replaced.
No matter how much you wash the container, or by what method, at some point the container may tear or acquire an odour or taste that cannot be removed.
Despite all care and precautions, it is virtually impossible to keep a 100% plastic container free of germs, bacteria and fungi. Moreover, plastic is a material that does not usually have a long life.
On the contrary, it tends to soften over time and it is precisely in these places that fungus or mould can proliferate. Keep an eye out for these signs, so you'll know when it's time to change your bottle or hydration bladder.
READ ALSO: